First boot and the authenticator
Who: the person who will be the hospital's first administrator.
The first time the box starts, it sets itself up on its own screen. Every step has Back, and everything works from the keyboard. Nothing is final until the last step.
1. Network
The screen shows the cable, the address, and whether the local network and the internet answer. On a cable there is nothing to do; no internet is fine. Select Continue.
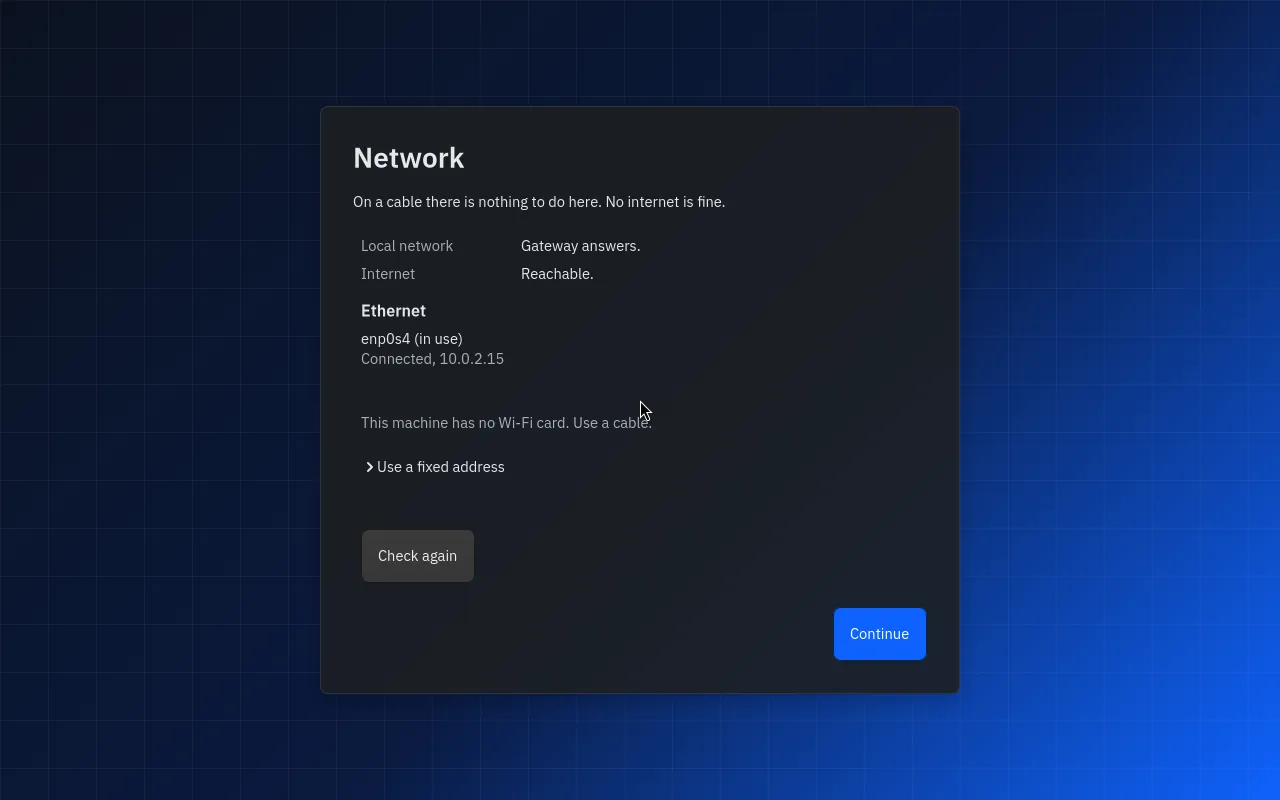
A fixed address undoes itself unless you confirm it within 60 seconds, so a mistake cannot cut the machine off.
2. Time zone and updates
Choose the time zone (Asia/Kolkata unless you change it). The updates step says that installing updates is not available in this version.
3. What this machine is for
Choose Setting up a new hospital. (To add a ward PC to a hospital that already has a main box, choose Connecting to my hospital: see join a ward PC.)
4. Hospital and administrator
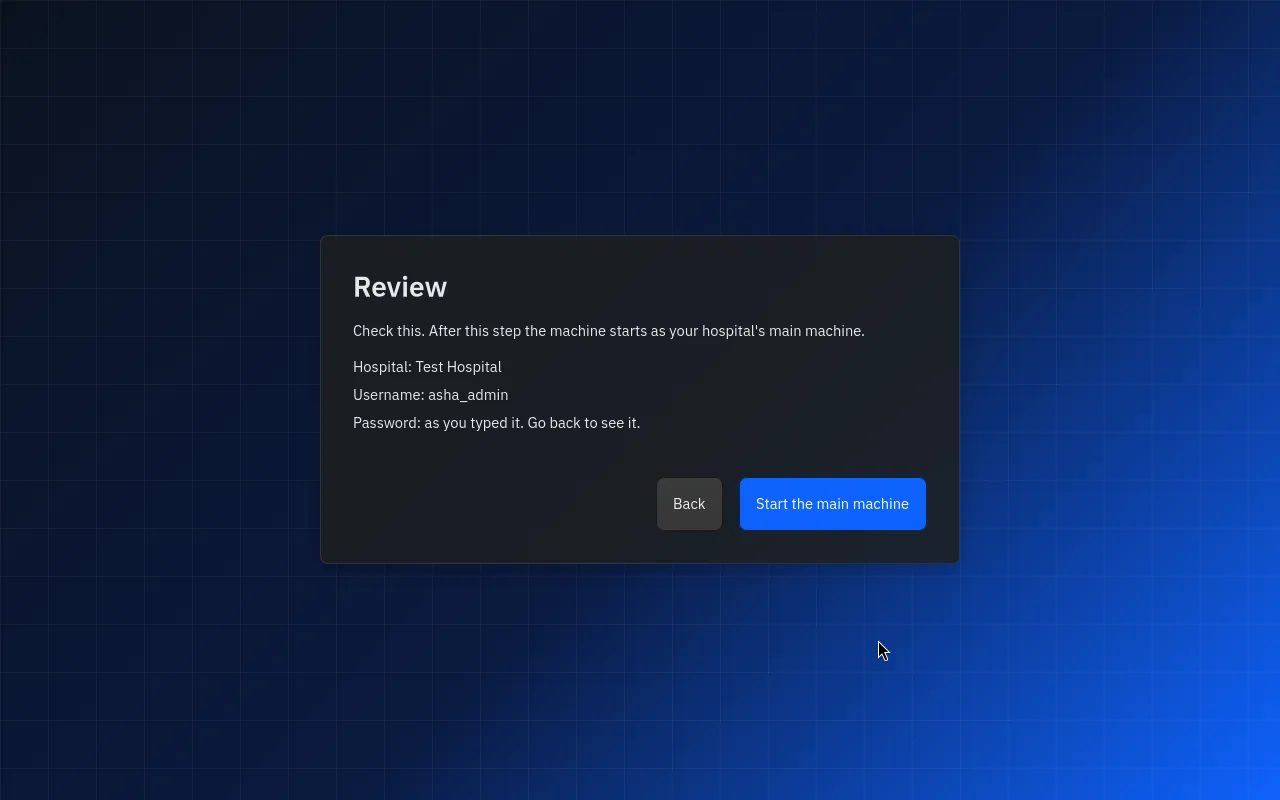
Enter the hospital name, your username and a password. The rules are shown under each field. Then check the Review and select Start the main machine.
5. Your authenticator app
Your login needs a second step. Install an authenticator app on your phone if you have none.
- Scan the QR code with the app. If you cannot scan it, type the key shown under it into the app.
- Type the 6 digits the app shows.
- Select Confirm and start.
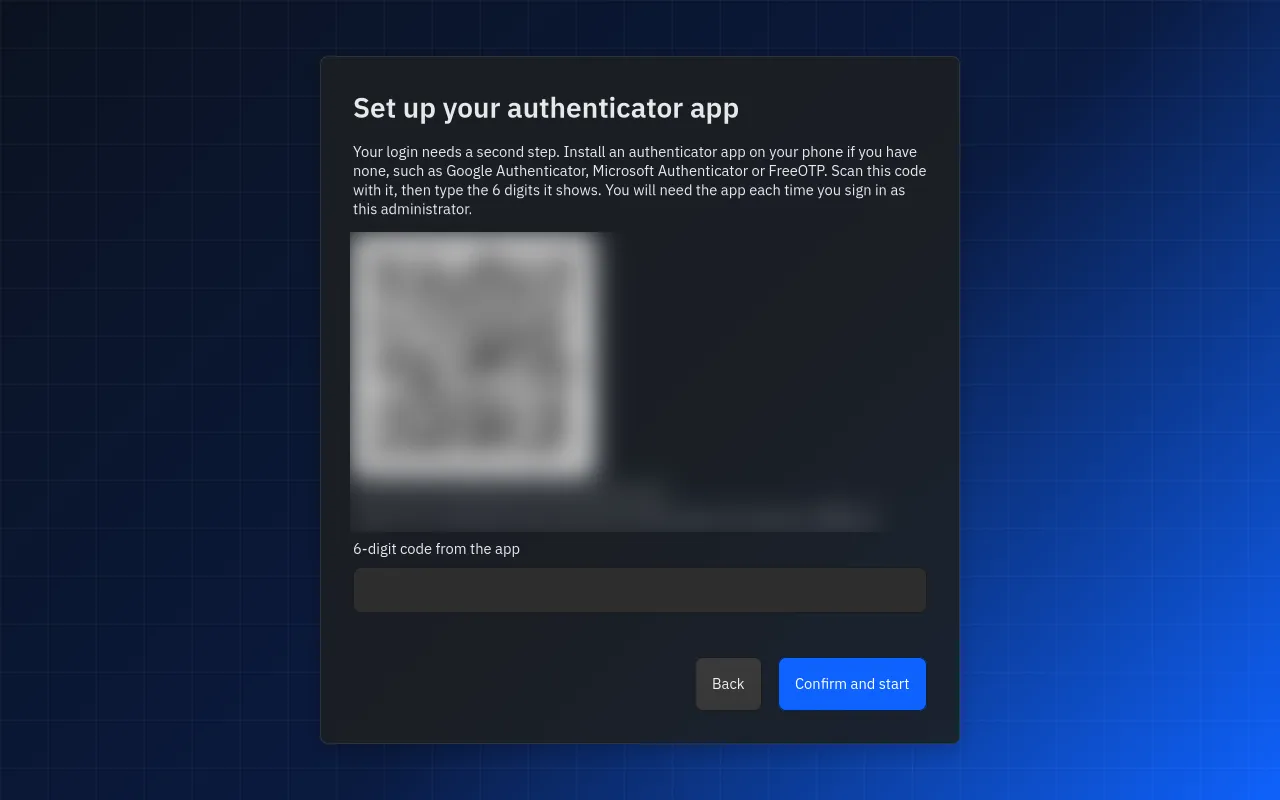
You will need this app each time you sign in as this administrator. Keep the phone safe.
When something goes wrong
- "That code did not match." Type the 6 digits the app shows now. If it keeps failing, check that the machine's clock is right. The same QR code stays good.
- Too long on this step. After 15 minutes the step expires. Select Back, then start again for a new QR code.
- A power cut during setup leaves nothing half made. Setup simply starts again.
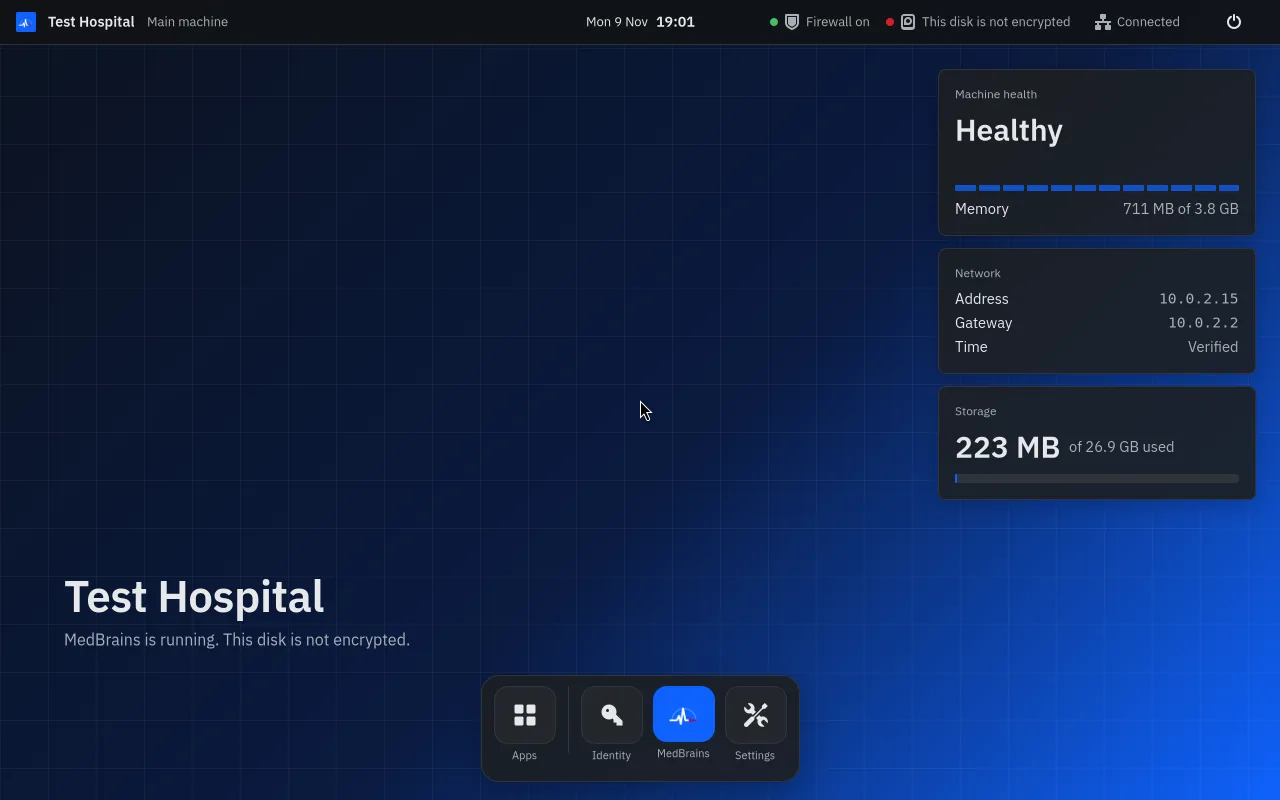
When setup finishes, the desktop opens: the hospital name, the machine's health, network and storage, and a dock with MedBrains.